Zendesk Support SMS alerts & notifications – integration manual
Here we describe how to setup Zendesk Support with SMSEagle for SMS alerts & notifications.
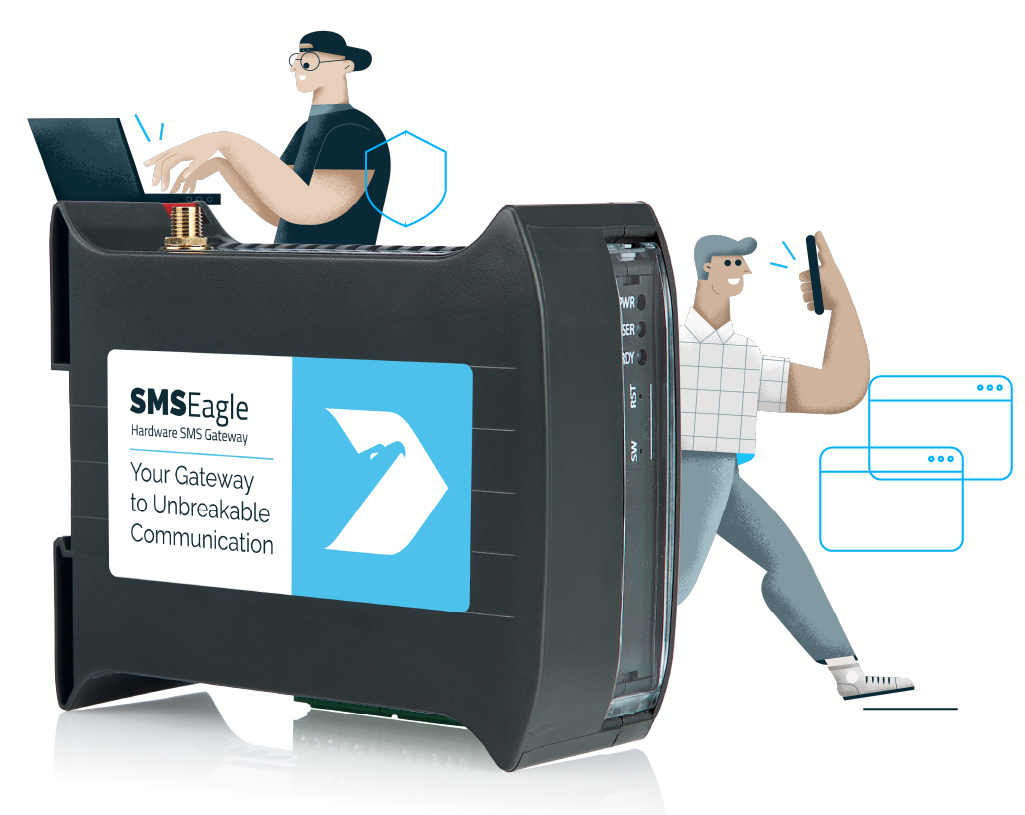
SMSEagle is an offline hardware SMS gateway. Therefore no external connection to 3rd party system is required. All notifications are generated on-premise and sent directly to a cellular network. This solution can be used in secure installations without Internet access.
SMSEagle Setup
Zendesk Support uses API to communicate with SMSEagle. Create a new user in your SMSEagle device for API access via webGUI.
Create a new user in SMSEagle (menu Users > + Add Users, user access level: “User”).
In order to send outbound SMS via triggers and automations, we will be using the extension URL Target.
Login to Zendesk
Click Settings -> Extensions
Click Targets tab -> click add target
After clicking add target, please click on URL target
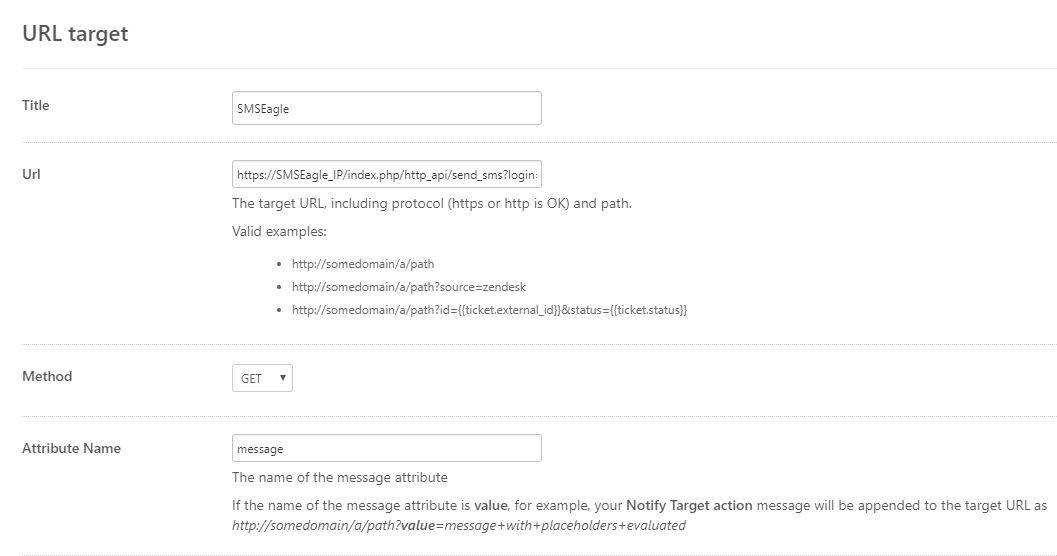
You will then have to fill the required values for:
Title → Name your target as desired
URL → https://SMSEagle_IP/index.php/http_api/send_sms?login=john&pass=doe&to={{ ticket.requester.phone}} if you want to send SMS to the ticket requester. You may choose to use other placeholders with the to parameter instead of {{ticket.requester.phone}}.Replace SMSEagle_IP with your gateway’s IP address, and john and doe with SMSEagle username & password created in point above.
Method → use GET
Attribute Name → message
Basic Authentication → leave blank as your credentials are set in the URL field
To check if all the details are correct, click on Test Target → Submit. You should get a success response if the details are correct (i.e. SMSEagle URL and credenials). Once you have successfully tested it you can go ahead and create the target.
To configure Zendesk to send your SMS notifications using a trigger, click Triggers under Business Rules: Click Add Trigger and configure the trigger.
Populate the Conditions fields that you want to be true for the Trigger and set up the action to be performed. In this case, the action will be ‘Notifications: Notify target‘ and you will select the previously created Target. You can populate the message field with the text that you want to be sent, using Zendesk placeholders as desired.
Note that if have used the {{ticket.requester.phone}} placeholder in your target, you must ensure that the phone number field is correctly populated in the Zendesk user profile (using the international format, ie. +1, +44).
You can now send an SMS from Zendesk using the SMSEagle HTTP API!
The recipient configured in your target (eg. the ticket requester) will receive an SMS via the SMSEagle.
SMSEagle is a hardware & software solution that guarantees a swift delivery of your messages to designated recipients, whether it’s for notifications, alerts, or important updates.
After registering to a demo you get a remote access to our physical device NXS-9750.